
An art condition report is a dated, signed record of an artwork’s physical state at a specific point in time, used to document value, support loans, and guide conservation decisions. If you don’t have one yet, the immediate next step is simple: create a baseline report with clear photographs before the artwork moves, sells, or changes hands again.
TL;DR:
- Creating a baseline report at acquisition with detailed photographs is essential before the artwork moves or changes hands.
- Condition reports should include specific details like damage location, measurements, treatment history, and signed signatures for legal clarity.
- Digital systems help track version history and attach photographs, reducing the risk of losing or confusing report updates over time.
- Vague damage language and inconsistent terminology weaken report credibility during disputes or inspections.
- Regular, disciplined updates to a baseline report improve long-term documentation and trust in provenance and condition records.
Table of Contents
- What Is an Art Condition Report and Which Type Do You Need?
- When Should You Actually Prepare a Condition Report?
- The Fields Every Art Condition Report Needs
- How to Describe Damage So Anyone Can Understand It
- How to Build a Condition Report Step by Step
- Condition Reports for Loans, Transport, and Recordkeeping
- Where to Find Reliable Condition Report Templates
- How Digital Systems Simplify Ongoing Condition Reporting
- The Real Value of a Condition Report Isn’t the Paperwork
- Sources
What Is an Art Condition Report and Which Type Do You Need?
An art condition report exists in several forms, and picking the wrong one creates liability gaps. The Canadian Conservation Institute (CCI) identifies four distinct types, and knowing which applies to your situation matters more than most collectors realize.
- Baseline reports capture the full condition of a piece at a fixed moment, usually at acquisition, and serve as the permanent reference point for everything after.
- Purpose-based reports are narrower assessments built for a specific need, such as confirming an artwork is stable enough to travel.
- Cursory inspections are quick visual checks, often done before and after a short move, without the depth of a full examination.
- Cumulative or travel reports track changes over time against the baseline, rather than re-documenting the entire object each time.
A gallery lending a painting for a six-city tour doesn’t need six full baseline reports. It needs one baseline and five short cumulative entries that flag only what changed, each one anchored to the same set of photographs.
When Should You Actually Prepare a Condition Report?
Timing determines whether a report protects you or arrives too late to matter. Documentation gaps at the wrong moment are how disputes start.
- At acquisition, before the piece enters your collection or inventory system.
- Before shipment, so both parties agree on starting condition.
- At loan start and loan end, with signatures from both lender and borrower.
- Before a sale, since buyers increasingly expect documented condition as part of due diligence.
- On a periodic schedule, particularly for works in storage or on long-term display.
Quick cursory checks cover routine internal moves. Full reports belong at ownership or custody changes. When damage looks structural, flaking paint, active mold, or a compromised support, bring in a conservator before writing another word of the report yourself.
The Fields Every Art Condition Report Needs
A usable artwork condition checklist has to hold up under scrutiny from an insurer, a conservator, or a buyer’s attorney, so vague entries won’t survive that test. Here’s the field-by-field structure that does:
- Identification — title, artist, date of creation, inventory or accession number, and any provenance labels or exhibition history attached to the frame or verso.
- Physical description — medium, support (canvas, panel, paper), construction details, and frame or mount information.
- Measurements — height, width, and depth in consistent units (specify inches or centimeters, never mix them within one report).
- Condition summary — a short rating (excellent, good, fair, poor) placed at the top so a handler or loan officer can assess suitability without reading every detail first.
- Detailed damage entries — nature of each issue, its extent, precise location using coordinates, and measurements of the affected area.
- Photographic references — file names and image numbers cross-linked to each damage entry.
- Treatment history — prior conservation work, dates, and who performed it.
- Recommendations — whether the piece is loan-suitable, needs treatment, or requires environmental controls.
- Signatures and version control — who prepared the report, the date, and a version number if the record gets updated later.
Pro Tip: Number your report versions (v1, v2, v3) the same way you’d version a document draft. When a painting goes out on three separate loans over five years, you want to know at a glance which report is current without opening every file.
The condition summary box matters more than it looks. CCI’s guidance on structured summaries exists specifically because loan registrars and insurance adjusters often don’t have time to parse a full technical write-up before making a decision.
How to Describe Damage So Anyone Can Understand It
Vague language is where condition reports fall apart under later review. Standardized terminology fixes that. Use precise words: flaking (paint lifting from the support), foxing (small brown spots on paper, usually from fungal activity or metal impurities), abrasion (surface wear from friction), craquelure (the network of fine cracks in aged paint or varnish), and discoloration (a shift in color from light exposure, aging varnish, or environmental damage).
When you’re not certain of a cause, qualify the statement. Write “appears to be foxing” rather than asserting a diagnosis you haven’t confirmed. This single habit does more to protect a report’s credibility than any other formatting choice.
- Record damage location using a grid or axis system: top/bottom (T/B) and left/right (L/R), or a numbered grid overlay for larger works.
- Measure the affected area in the same units as the overall dimensions.
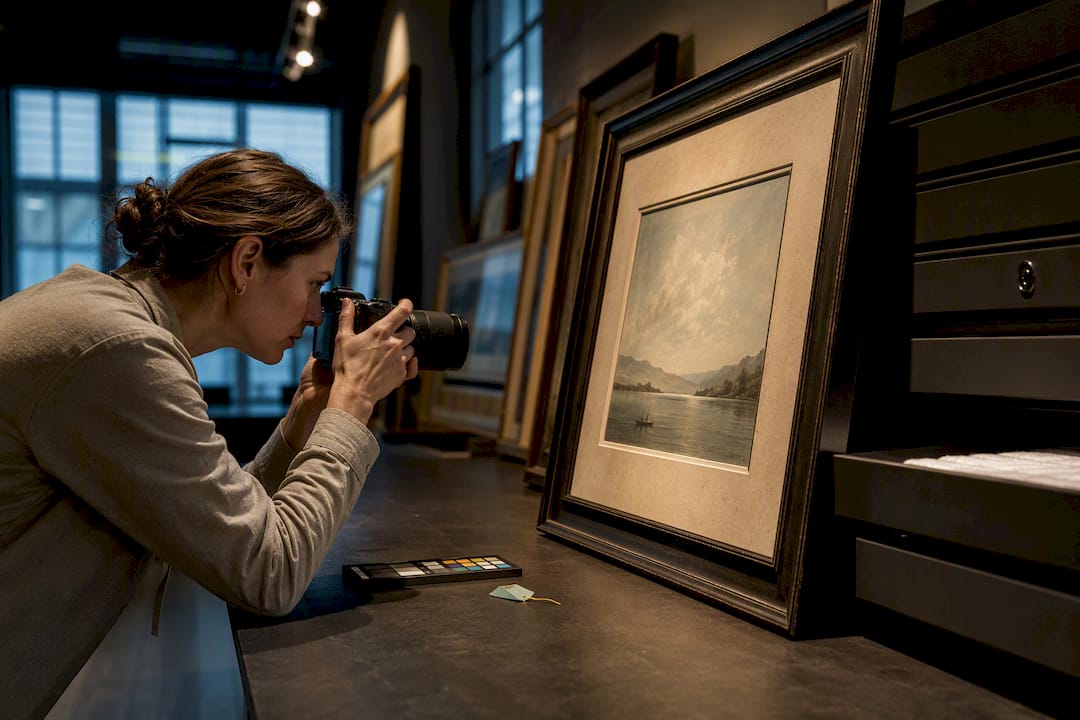
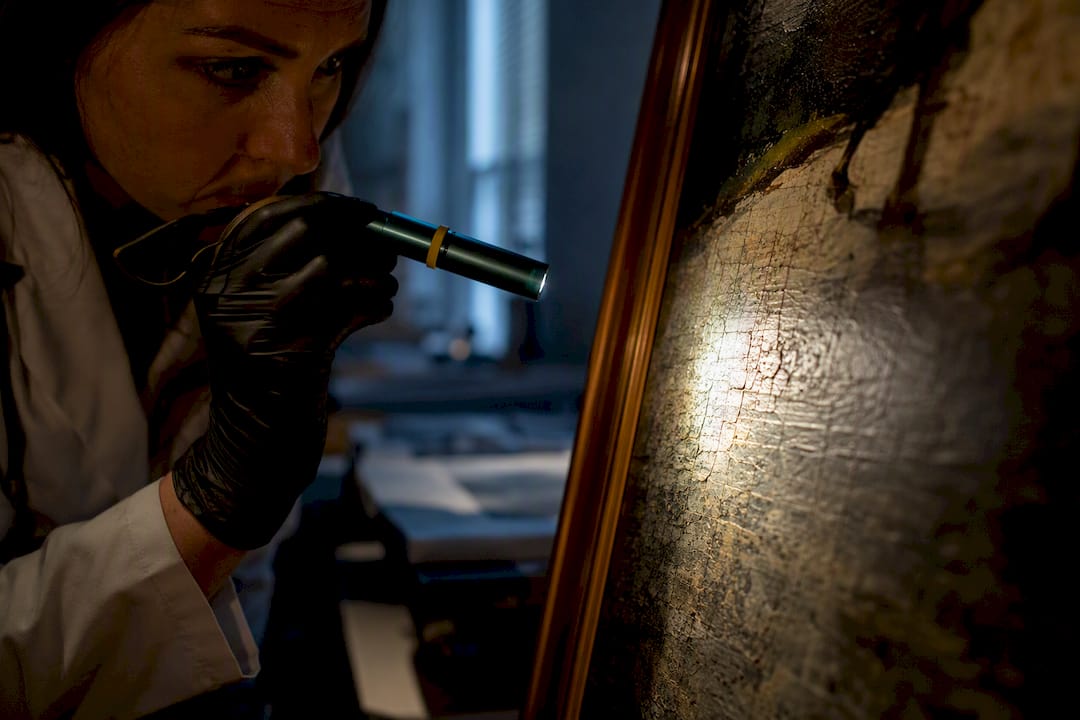
- Photograph with a scale reference in frame, and use raking or transmitted light for surface cracking or paper thinning that standard light won’t reveal.
- Attach annotated close-ups directly next to the corresponding damage entry.
CCI’s documentation notes point to a practical reason this matters beyond neatness: reports written with vague location language (“damage on the left side”) become nearly impossible to reconcile against a photo taken months or years later, especially once a piece has moved through two or three custody changes.
How to Build a Condition Report Step by Step
Turning a checklist into an actual document is where most people stall. Here’s the workflow.
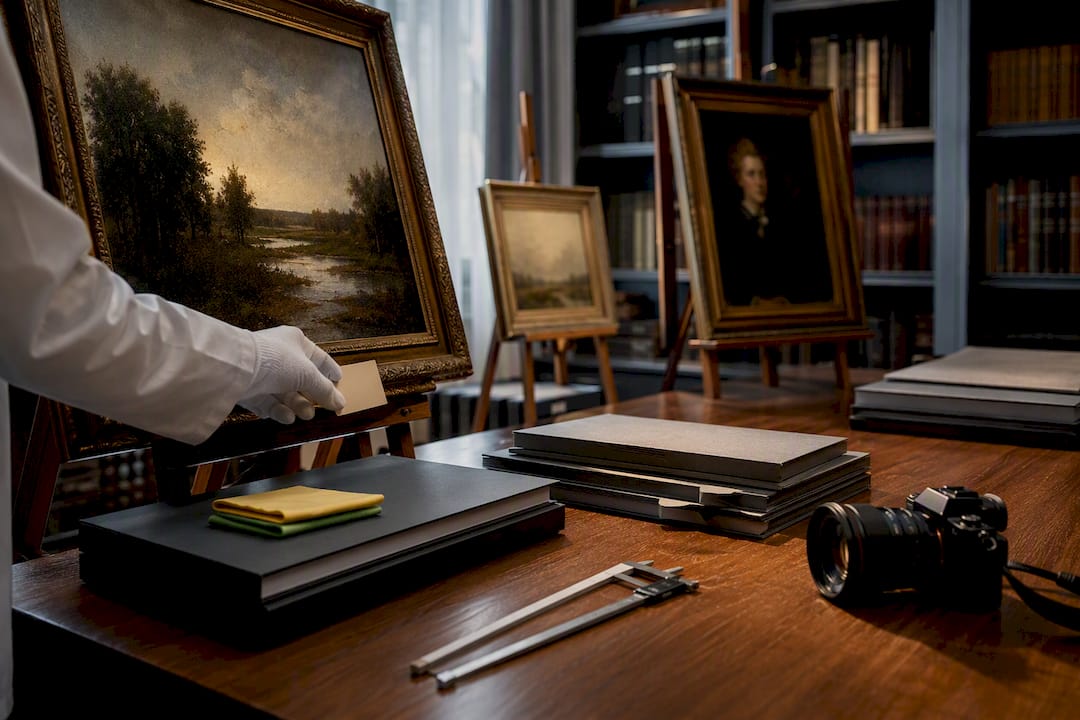
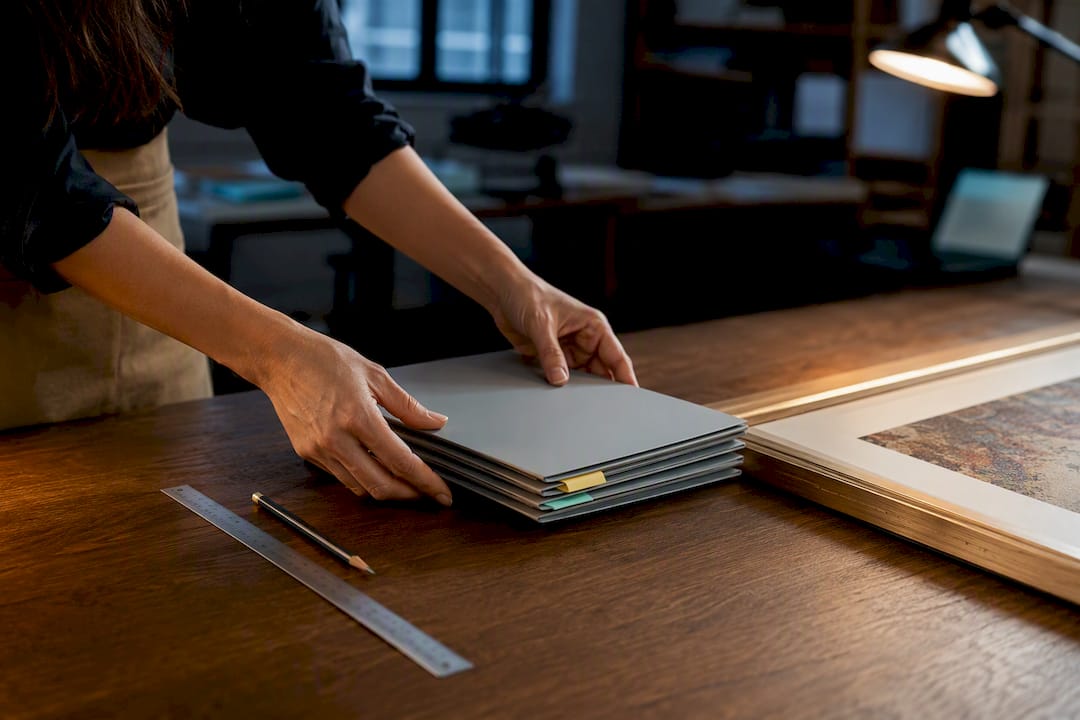
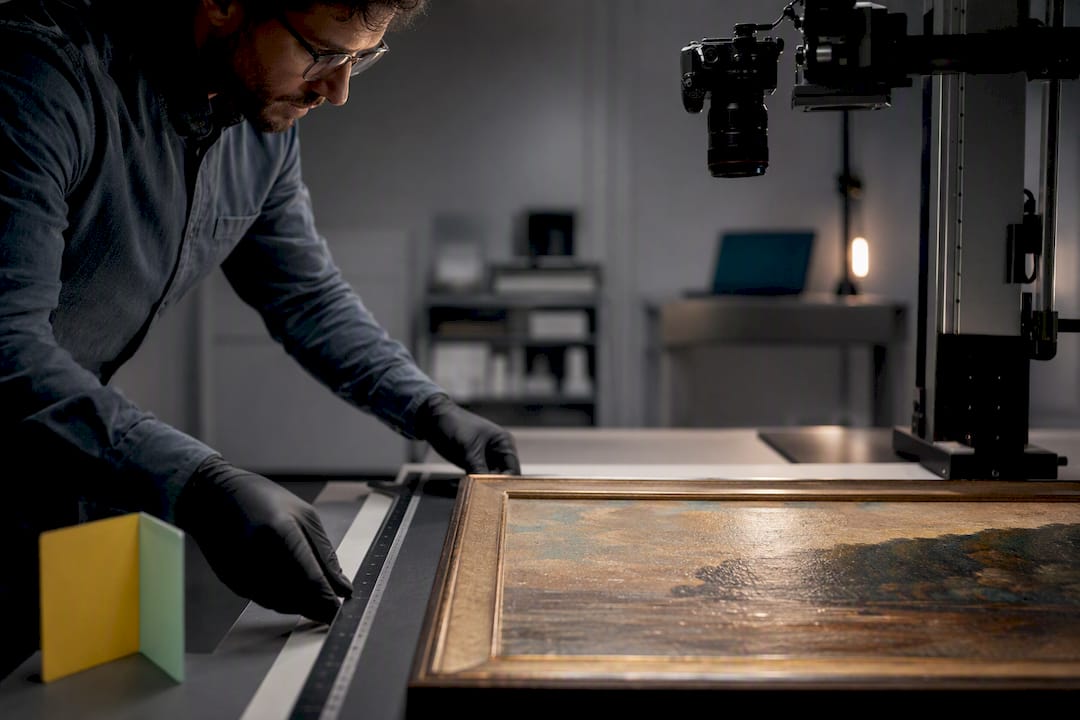
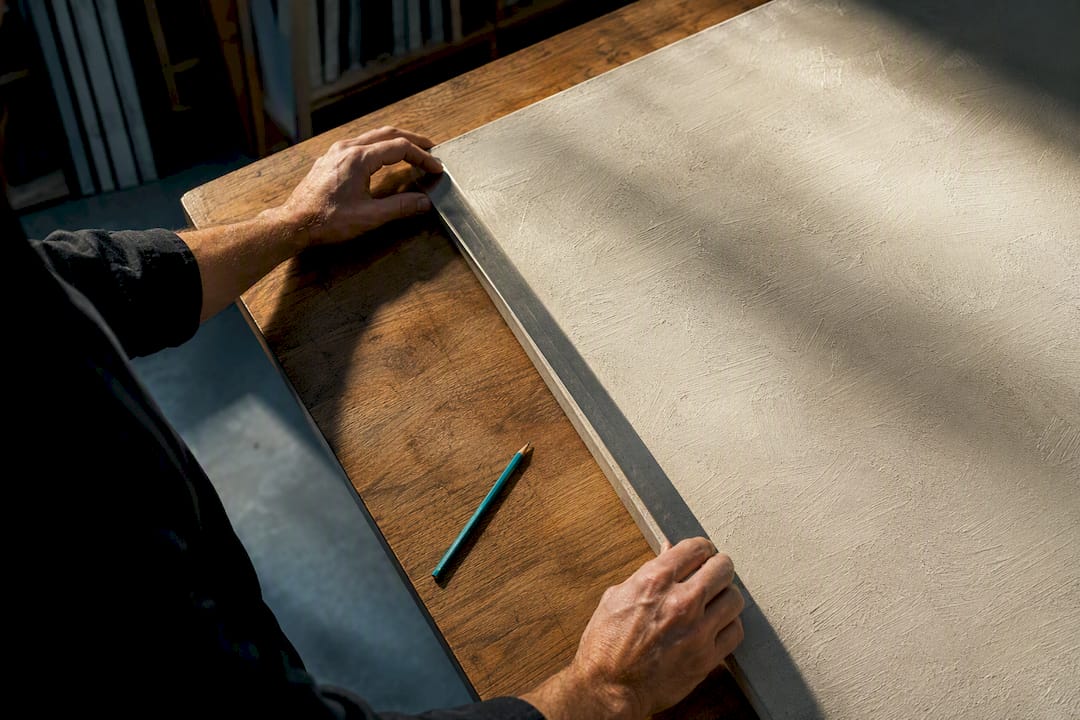
- Set up your workspace. Use a padded, stable surface, cotton gloves, and even, glare-free lighting.
- Gather your tools. A digital camera, a ruler or tape measure, a loupe for close inspection, and a portable soft light source for raking angles.
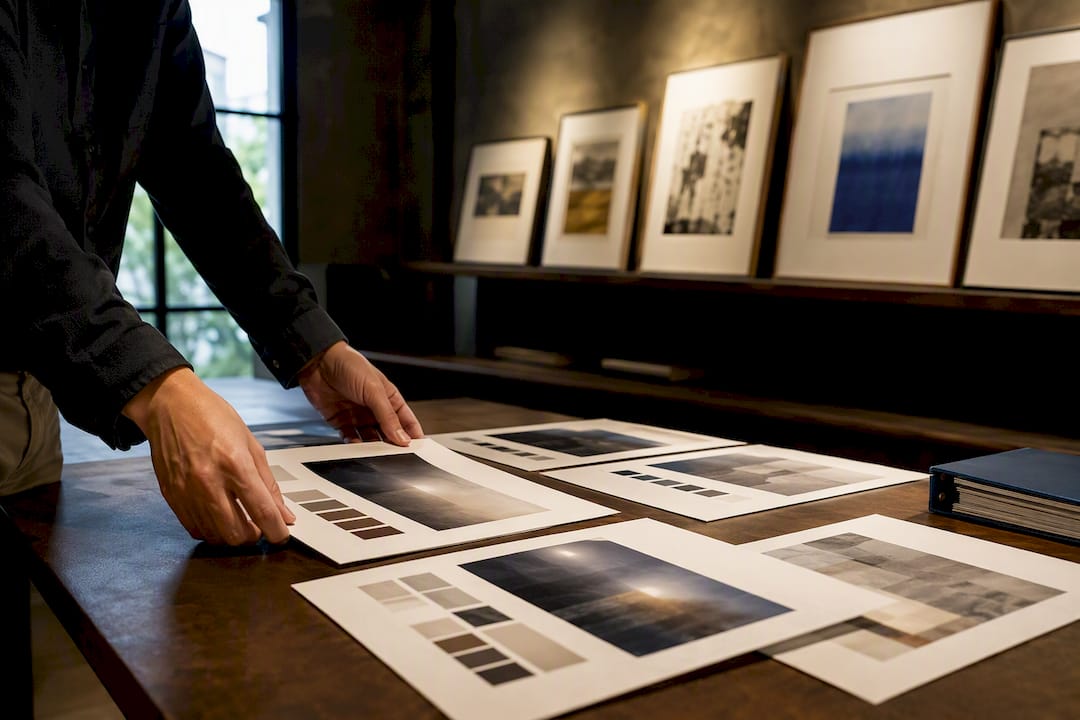
- Photograph overall views first. Front, back, and both sides, then move to detail shots of any damage.
- Name files consistently and reference them directly in your report, so image seven always matches damage entry seven.
- Draft identification and the condition summary first. These orient anyone reading the report before the technical detail.
- Write detailed damage entries using coordinates, measurements, and qualified language.
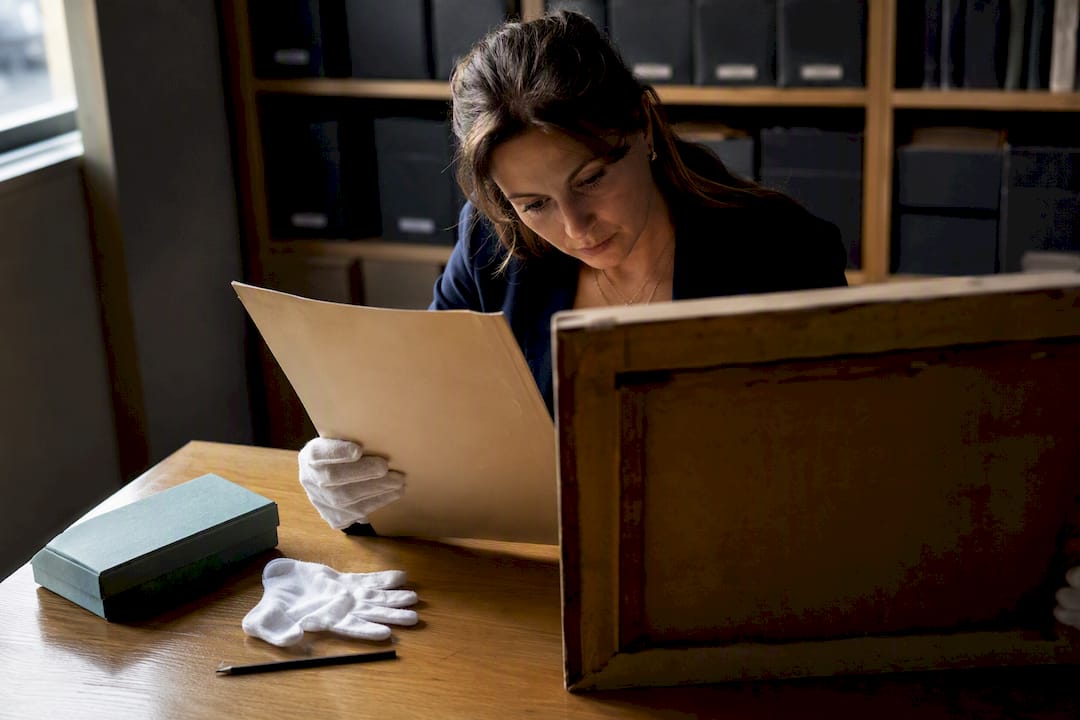
- Sign, date, and store the finished report alongside its photographs in a digital record tied to that specific artwork.
Pro Tip: Photograph before you touch anything. It’s tempting to reposition a frame or brush off surface dust before shooting, but that first unaltered image is often the one an insurer or buyer will ask for later.
The Joan Mitchell Foundation’s guide to condition reporting emphasizes exactly this sequence: thorough photographic evidence gathered before any handling, not after.
Condition Reports for Loans, Transport, and Recordkeeping
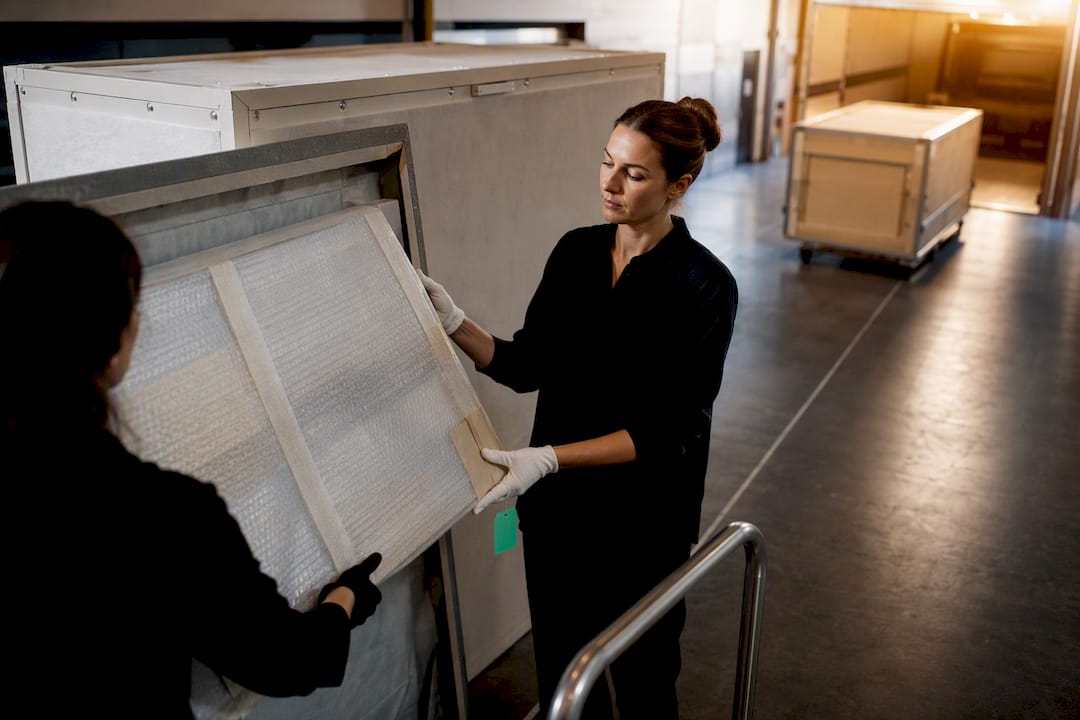
Loan agreements live or die on documentation timing. Museum lending practice, outlined in the Art Fund’s loan guidance, recommends a pre-shipment report agreed upon by both lender and borrower, paired with a defined movement and installation plan before the piece ever leaves the wall.
- Send the pre-shipment report ahead of transport, and confirm both parties have reviewed it.
- Use the baseline as your permanent reference. Record only changes in each subsequent travel entry rather than rewriting the full report every time.
- Get signatures from both sides at pickup and return. This single step resolves more disputes than any clause in a loan contract.
- Some lenders require their own staff to handle packing and installation. Confirm this before shipment, not after damage appears.
- Monitor temperature and humidity during the loan period, and append that data to the record if conditions moved outside agreed ranges.
- Reconcile the outgoing and returning reports side by side, then sign off formally before considering the loan closed.
Artworksoft’s guide to managing museum loans covers the handling and reporting steps that come up most often during multi-venue exhibitions, where a single baseline report has to hold up across several different custodians.
Where to Find Reliable Condition Report Templates
You don’t need to build a template from nothing. The Smithsonian’s Hirshhorn Museum publishes a free, downloadable condition report template built for incoming artworks, and CCI provides sample baseline forms with standardized field structures you can adapt directly.
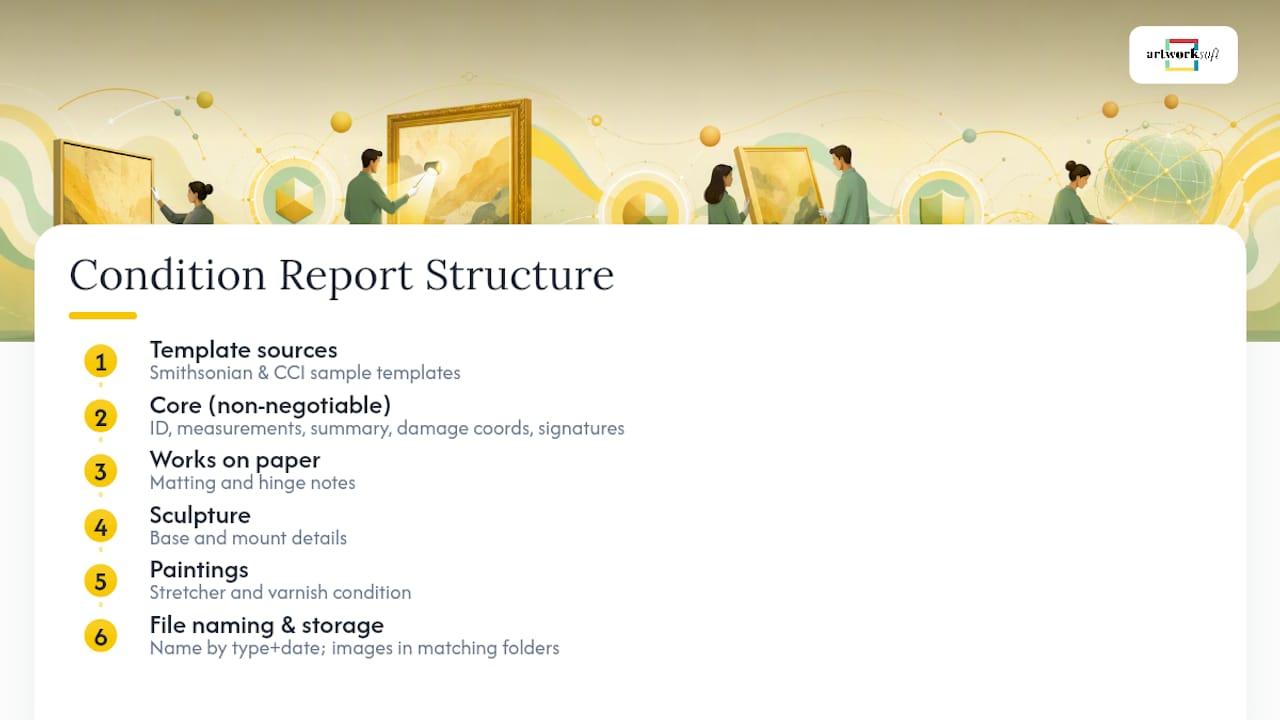
Adjust the fields to the object type: works on paper need matting and hinge notes, sculpture needs base and mount details, paintings need stretcher and varnish condition. Regardless of medium, keep these fields non-negotiable across every version: identification, measurements, condition summary, damage entries with coordinates, and signatures. Name your template files by object type and date, and store images in folders matching the report’s file-naming convention from day one.
How Digital Systems Simplify Ongoing Condition Reporting
Paper templates work fine for a single report. They fall apart once a collection reaches a few dozen pieces moving through loans, sales, and storage changes at different times. That’s the point where most collectors quietly lose track of which version of a report is current, and it’s the exact problem structured collection software solves.
Some digital art management systems let you attach photographs and PDF condition reports directly to an artwork’s record, with version history preserved automatically rather than scattered across email threads and desktop folders. Generating a professional PDF from a saved template takes minutes, and because condition notes sit alongside the artwork’s valuation fields, a documented flaw or repair history stays visible exactly where pricing decisions get made. None of that replaces professional judgment. A structured record makes it obvious when a report has moved past what software or a collector should assess alone, and that’s the moment to call a conservator, regardless of how clean the documentation looks on screen.
The Real Value of a Condition Report Isn’t the Paperwork
Most collectors treat condition reports as a compliance exercise, something you produce because an insurer or a loan registrar asked for it. That framing misses what actually makes a report valuable: it’s a record of your own judgment at a specific moment, and that judgment gets harder to reconstruct with every year that passes.
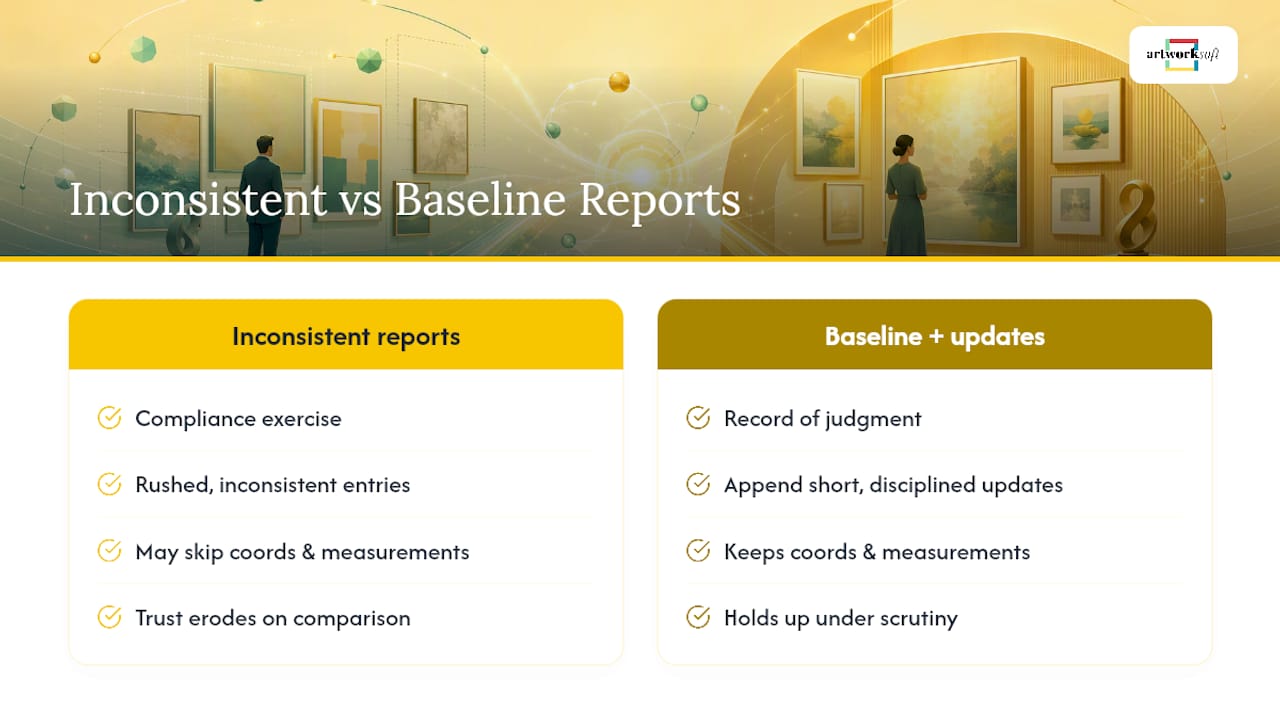
The industry’s real failure point isn’t missing reports. It’s inconsistent ones, a baseline written in careful CCI-style language followed three years later by a rushed cursory note that skips coordinates and measurements entirely. When a dispute or a sale eventually forces a side-by-side comparison, the mismatch in rigor is what erodes trust, not the absence of documentation itself.
Collectors who treat the baseline report as a living reference, appending short, disciplined entries rather than starting over each time, end up with records that actually hold up under scrutiny. That habit costs almost nothing in time. What it buys is a documented history nobody can credibly dispute.
— Nealda
Ready to stop managing condition reports as loose files and start attaching them directly to your collection records? Turn your art collection into a well-documented asset with Artworksoft, or start free to see how photographs, PDFs, and version history work together in one place.
Sources
- Condition Report Template — Smithsonian Time-based Media & Digital Art
- Condition Reporting – Paintings. Part I: Introduction — Canadian Conservation Institute (CCI)
- Practicalities of Loans Projects — Art Fund
- Creating a Condition Report for Artwork — Joan Mitchell Foundation