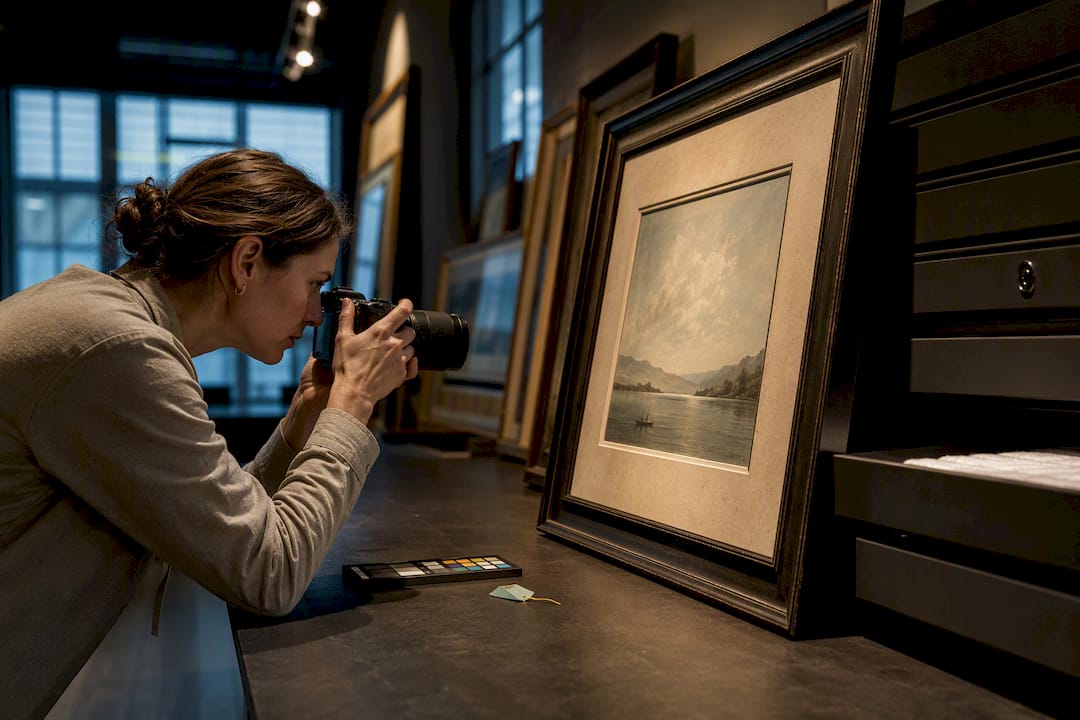

The most reliable way to photograph artwork for inventory is with two matched daylight-balanced lights at 45 degrees, a tripod-mounted camera parallel to the piece, RAW capture at ISO 100 to 200 and f/8 to f/11, plus a gray card in frame and embedded metadata on export. That combination produces images accurate enough for catalogs, sales listings, insurance claims, and long-term archives.
Methodology:
- Consistent use of daylight-balanced lights at 45 degrees and RAW format at ISO 100-200 ensures accurate color and detail for long-term archiving and sales.
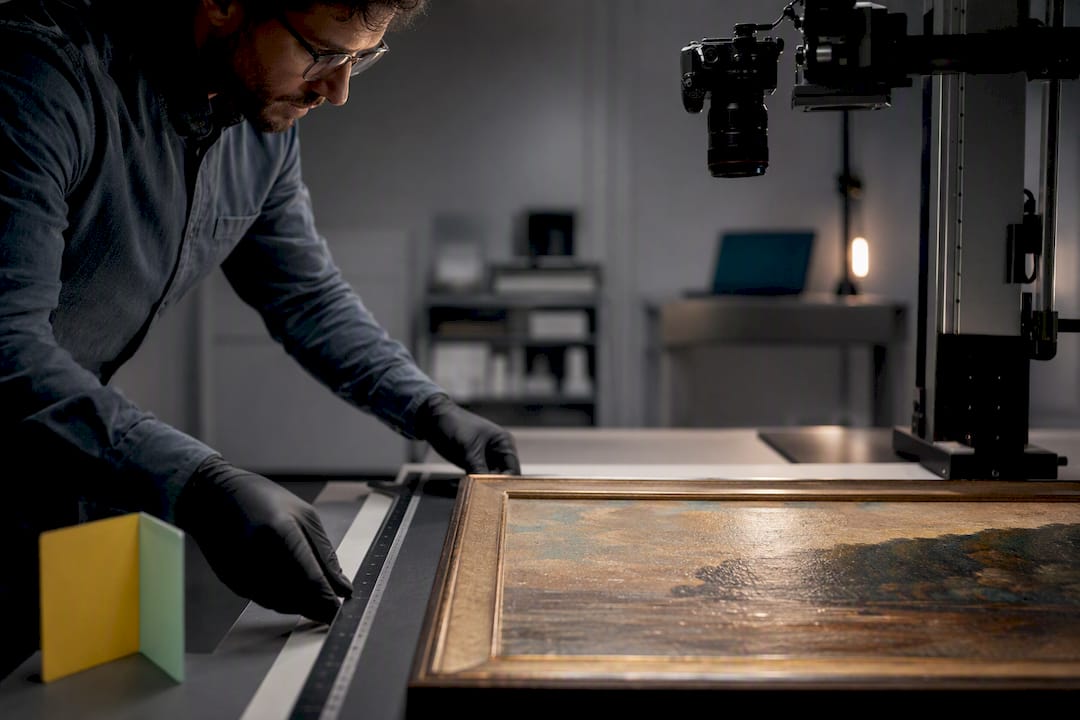
- Proper setup involves securing the artwork, positioning lights with diffusion and polarizers to prevent glare, and keeping the camera parallel to avoid distortion.
- Naming files systematically by inventory number, artist, and date, along with embedded metadata, simplifies searching and integration into inventory systems.
- RAW files must be archived as masters, with derivatives like web JPEGs and print TIFFs stored separately and backed up in multiple locations.
- Embedding detailed metadata, including provenance and condition notes, into images enables seamless management within systems like Artworksoft, reducing manual data entry.
Quick Checklist and Studio Prep for a Shoot
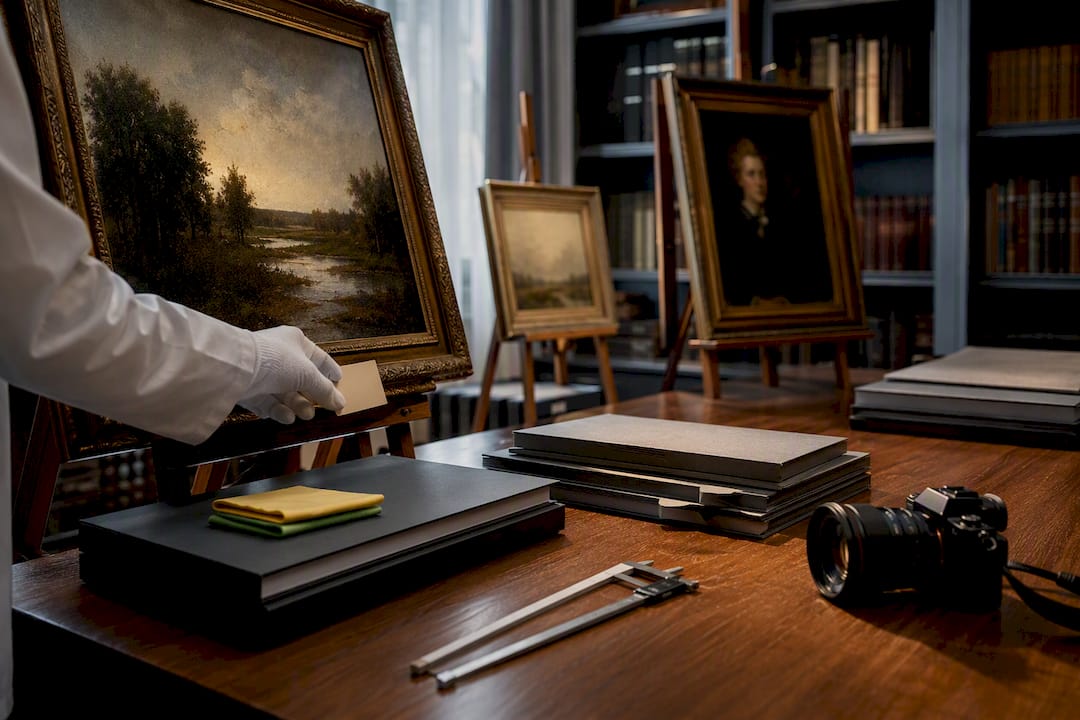
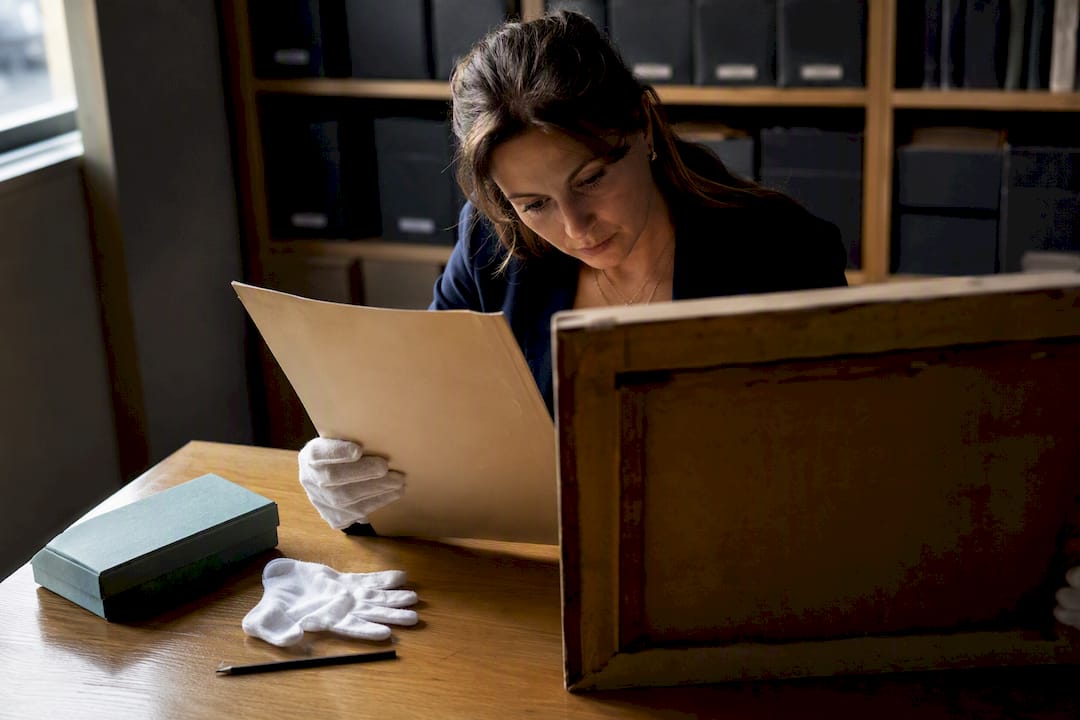
Before touching the camera, gather the essentials: a tripod, a camera or a recent smartphone with a RAW-capable app, two matching lights (or one north-facing window), diffusion material, a gray card or ColorChecker, a remote shutter release, and a clean neutral backdrop. Secure the artwork on a wall or easel so it cannot shift mid-session, and dim ambient light or work after hours if windows introduce color casts.
Work through the same order every time:
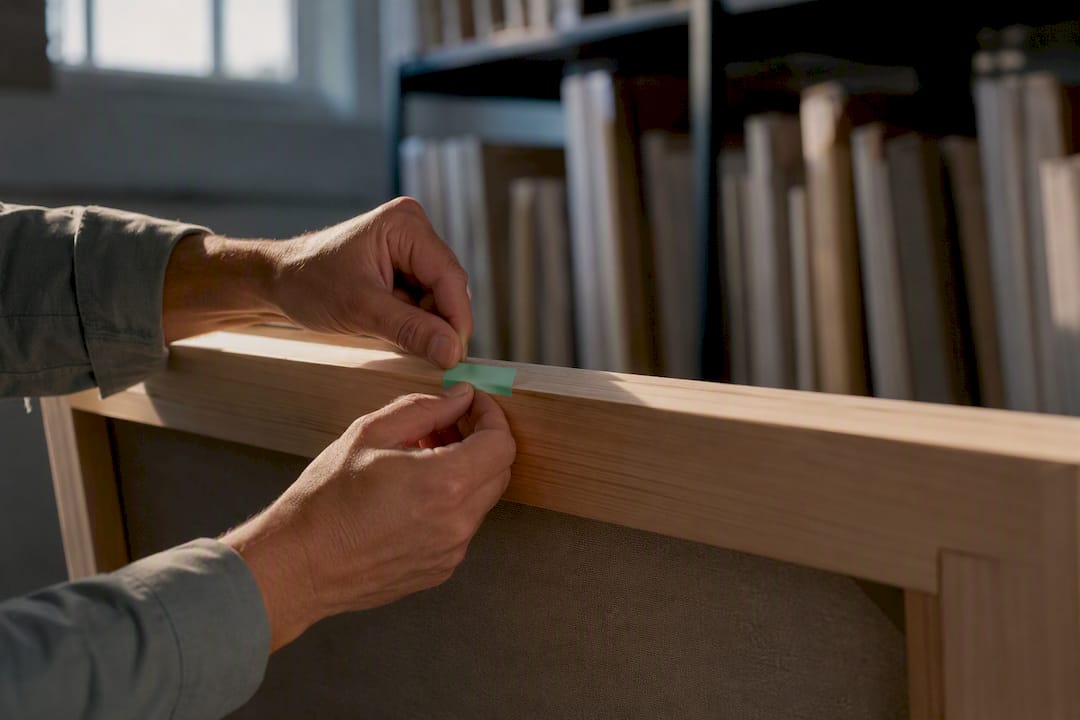
- Mount the artwork securely and check the wall or easel for stability.
- Position both lights at matching angles and distances.
- Photograph a white balance and color target under the same lighting.
- Capture the full, overall shot of the piece.
- Shoot detail images (signature, texture, edges, damage if present).
- Log metadata immediately while details are fresh.
Equipment Choices and Camera Settings for Consistent Results
A recent smartphone can work for casual documentation if it shoots RAW, sits on a tripod, and stays under consistent lighting with color calibration. For anything headed into a permanent inventory or a sale, a mirrorless or DSLR camera gives more control over noise, dynamic range, and color depth.
- Use a 50mm or 100mm prime lens to minimize distortion; switch to a macro lens for small works or fine detail shots.
- Shoot in RAW format, never JPEG only, to preserve color and tonal data for correction later.
- Set ISO between 100 and 200 to keep noise out of shadow areas.
- Use an aperture of f/8 to f/11 for sharp, edge-to-edge focus across a flat surface.
- Trigger the shutter with a remote or timer on a tripod to eliminate camera shake.
RAW capture paired with a locked-down tripod is what separates a snapshot from a record that holds up in a grant application, an insurance claim, or a gallery submission years later.
Lighting and Setup to Avoid Glare and Achieve Even Illumination
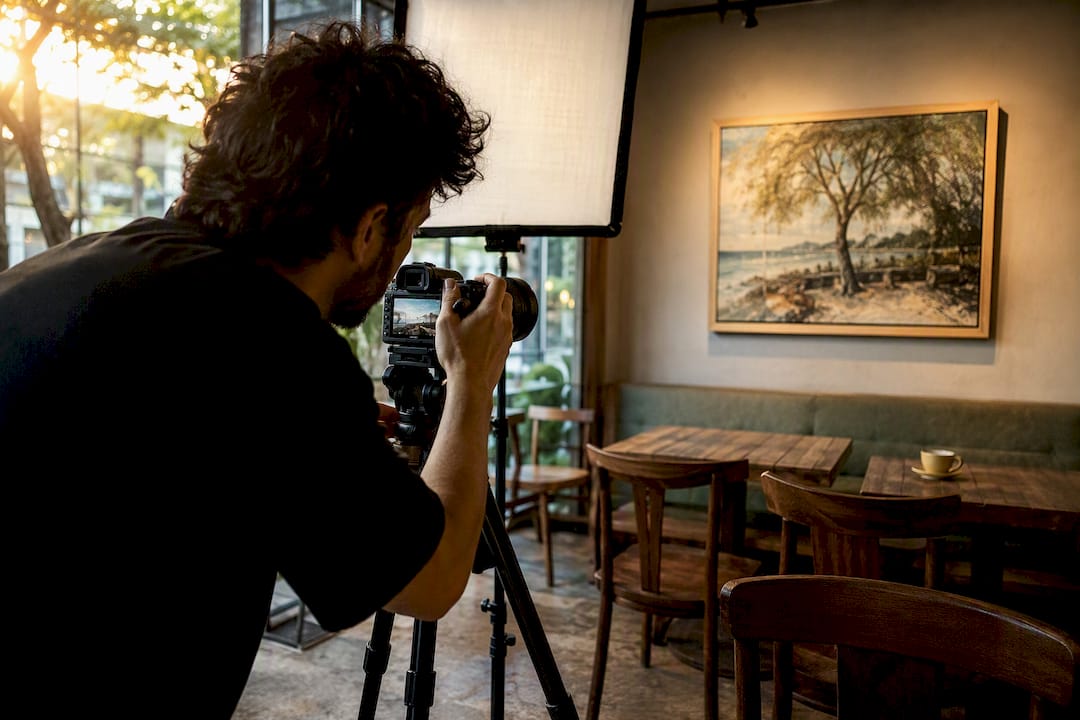
Two identical daylight-balanced light sources positioned at 45-degree angles to the artwork, each fitted with a diffuser, produce the even illumination inventory photography demands. Never use a camera’s built-in flash. It creates a hard, direct hot spot and flattens texture.
- For small or heavily varnished pieces, a copy stand or light tent standardizes distance and diffusion across dozens of works in one session.
- Softboxes work well for larger canvases where a light tent is not practical.
- A polarizing filter on the lens, paired with polarizers on both lights (cross-polarization), removes glare from varnish or glass that diffusion alone cannot fix.
- Check exposure evenly across the piece by comparing histogram readings in the corners versus the center; adjust light distance if one side reads brighter.
Basic two-light kits with stands and diffusers typically run $150 to $400, while dedicated copy stands add another $100 to $300 depending on size.
Pro Tip: For a reflective or heavily varnished painting, rotate the lens polarizer while watching the screen and dial in cross-polarization until the surface glare disappears entirely. It is slower than diffusion alone, but it is the only method that fully removes varnish glare on camera.
Composition and Alignment: Keep the Camera Parallel and the Artwork Rectangular
Keystoning, where a rectangular piece looks slightly trapezoidal in the frame, comes from the camera sensor sitting even a few degrees off parallel to the artwork’s surface. Fix it at capture rather than in editing.
- Center the tripod so the lens sits at the vertical and horizontal midpoint of the piece.
- Use a spirit level or your camera’s electronic level to confirm the sensor plane is truly parallel.
- Frame the piece tightly with a small margin, then shoot a second, wider context shot showing the frame or installation if that matters for the record.
- Switch to Live View and zoom to 100 percent on each corner to confirm focus and edge sharpness before moving on.
Getting this right at the tripod saves you from cropping and correcting distortion in post, which degrades resolution every time it happens.
Shooting Workflow and a Practical File-Naming Convention for Inventory
Shoot in a consistent order every session: the full overall image first, then details, then any installation or context shots, then a frame containing the color target used for that lighting setup. That order makes it easy to match RAW files to the right calibration reference later.
Name files so they sort and search cleanly:
INV2026_0001_Title_Medium_Size_Date.jpgfor the primary catalog image, with a matching.RAWor.DNGmaster.- Organize folders by year, then artist, then inventory number, so a search for one piece surfaces every associated file.
- Keep the unedited RAW master permanently; treat exported JPEGs and TIFFs as replaceable derivatives.
This structure is what lets a documented inventory system import files without manual renaming.
Post-Processing and Color Management: Match the Original
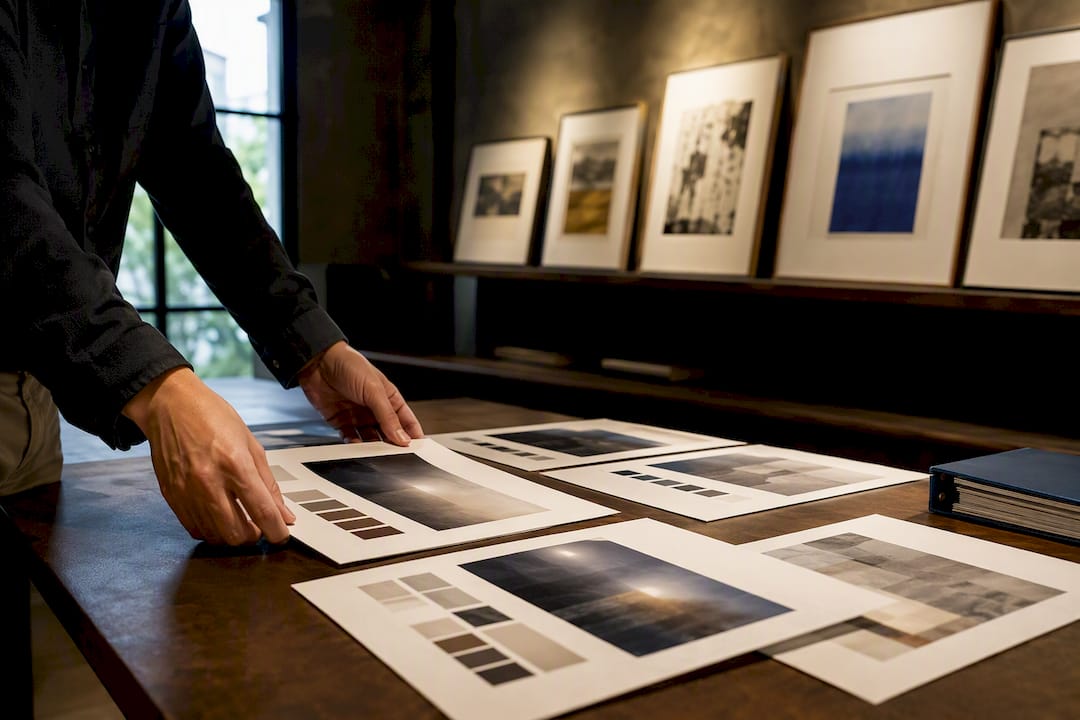
Editing an inventory photo should correct for accuracy, not enhance for effect. Set white balance using the gray card or ColorChecker frame you shot at the start of the session, then apply your camera manufacturer’s color profile or an Adobe camera profile as a starting point.
- Sync white balance and exposure adjustments across every image from the same session so the series looks consistent.
- Always keep one unedited RAW file per piece as the untouched master.
- Export sRGB files for web use and catalogs; export Adobe RGB or ProPhoto RGB for high-resolution print or professional reproduction.
- Log every correction (white balance shift, crop, exposure change) in a simple edit log or the file’s metadata fields.
Two matched, diffused daylight-balanced lights combined with a calibration target at capture time reduce the correction work needed later to almost nothing, which is the fastest route to consistent color across a large collection.
File Sizes, Derivatives, and Archival Best Practices
Keep the RAW file as your permanent archival master; never overwrite or discard it. Generate derivatives as needed: JPEGs with a longest edge of 1,500 to 2,500 pixels for web use, and TIFF files at 300 dpi at final size for print or professional reproduction.
- Store at least two backup copies of every master file, one in cloud storage and one offline on a separate drive.
- Label derivative files clearly so no one mistakes a web export for the archival master.
- For high-value collections, generate checksums on master files to detect corruption over time.
Metadata and Inventory Fields to Record Alongside Each Photo
A photograph without matching data is just a picture. An inventory record needs both. Capture these fields for every piece: inventory number, title, artist, date, dimensions, medium, edition number, provenance or ownership history, condition notes, current location, and acquisition or sale details.
- Embed IPTC and XMP metadata directly into the image file at export, not just in a spreadsheet.
- Make sure database field names and formats match the embedded metadata exactly, so records import without manual cleanup.
- Embedding metadata this way keeps images searchable and preserves provenance even if a file gets separated from its original folder.
Consistent field names across your entire collection are what prevent duplicate entries and mismatched records once a collection grows past a few dozen pieces, a problem that compounds fast in any inventory system.
How Artworksoft Handles the Photographed-Image Workflow
Artworksoft imports your master images, maps each file name directly to its inventory number, and populates the same metadata fields you captured during the shoot: title, medium, dimensions, provenance, and condition notes. Once an image and its data are linked, Artworksoft generates a Certificate of Authenticity and tracks the artwork’s location and movement history from that single record.

The practical benefit is that the file-naming convention and metadata checklist covered above are not extra work. They are exactly what the system needs to turn a folder of photographs into a structured, searchable collection without re-entering data twice.
A Documentarian’s Take on Speed Versus Fidelity
Hire a professional for high-value pieces or juried submissions where fidelity carries real stakes. For routine studio inventory, a repeatable DIY setup wins on speed. One shortcut: photograph small works in batches on a copy stand before the lights ever move.
— Nealda
Put Your Photographed Artwork to Work in Artworksoft
Artworksoft is the practical next step once your images are shot and named correctly. Instead of leaving photographs scattered across folders, the platform attaches each master file directly to an artwork profile, matches your metadata fields automatically, and generates a Certificate of Authenticity from the same record.

That means the file-naming convention and metadata checklist covered above translate into a searchable, sellable collection instead of a pile of well-lit photos with no home. Movement tracking logs where each piece travels after the shoot, whether that is a loan, a sale, or a gallery consignment. If you are ready to move photographed inventory into a system built for it, start with Artworksoft’s free plan and import your first batch of images today.
Sources
- Photo tips — University of Maryland Arts Council
- Photographing artwork: 8 essential tips — Digital Photography School
- How to photograph artwork for your portfolio — Carlson Art Photography
- Documenting your artwork: photography tips for artists — Artsume