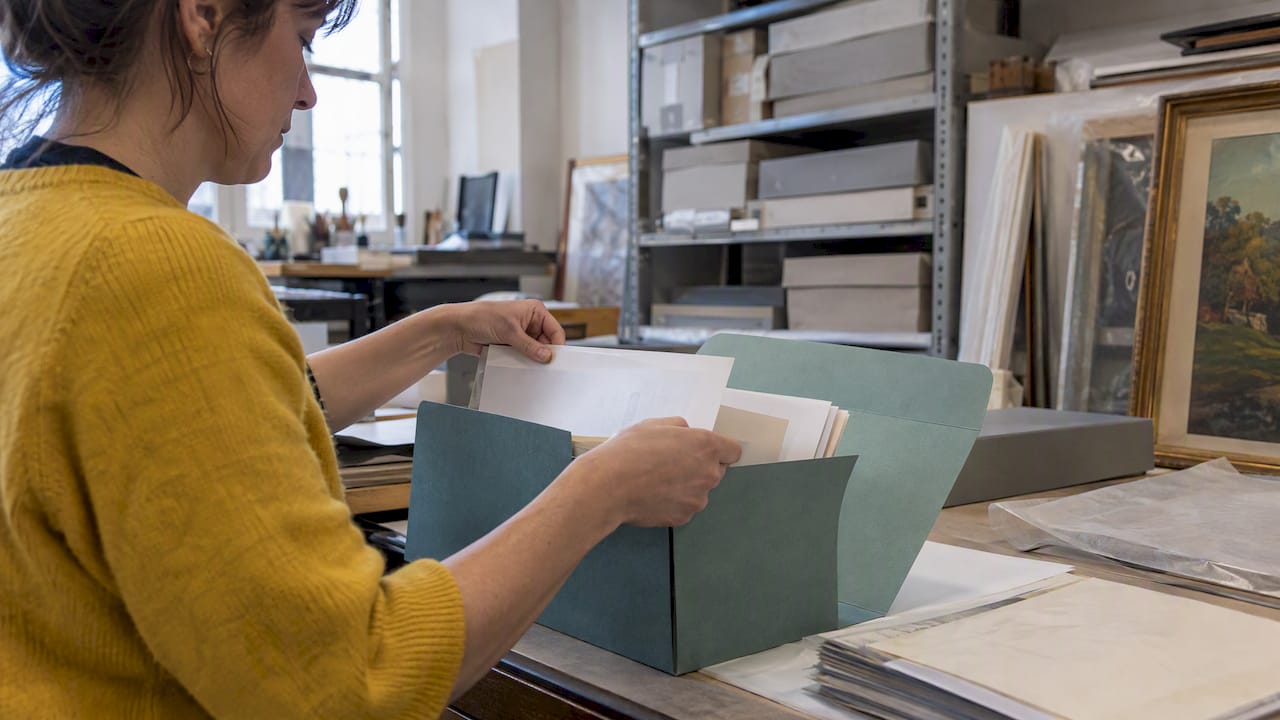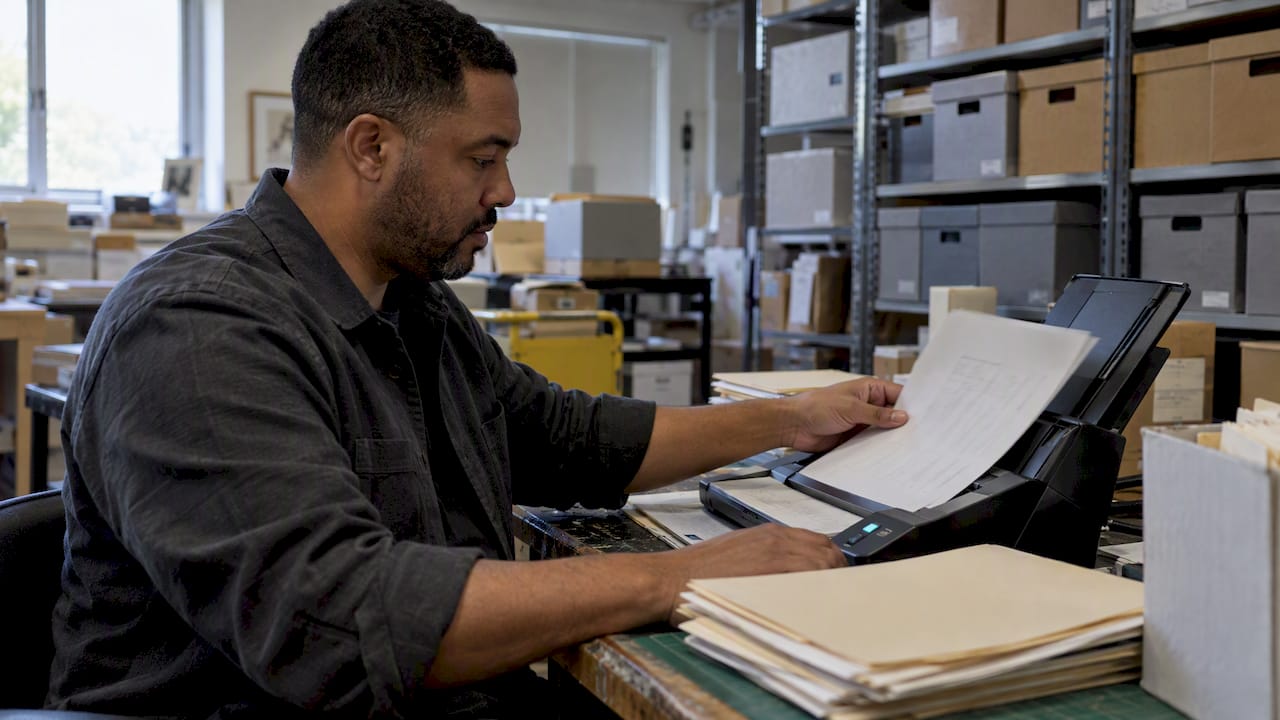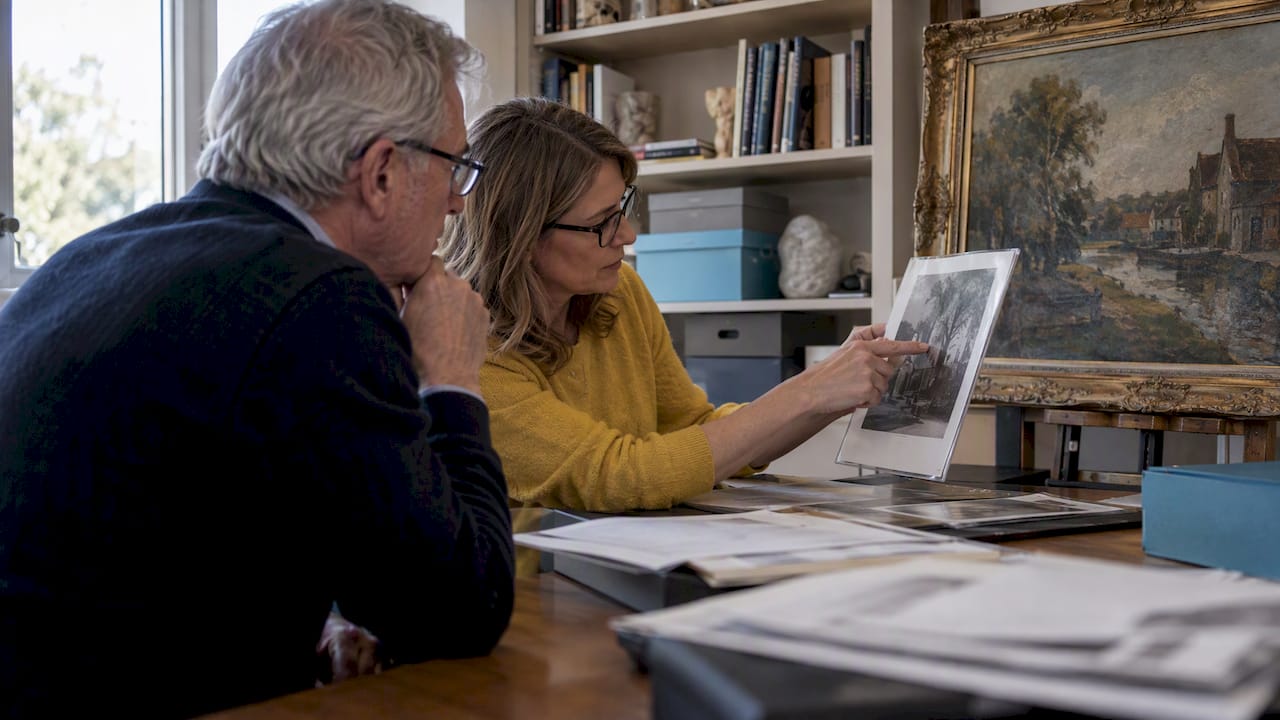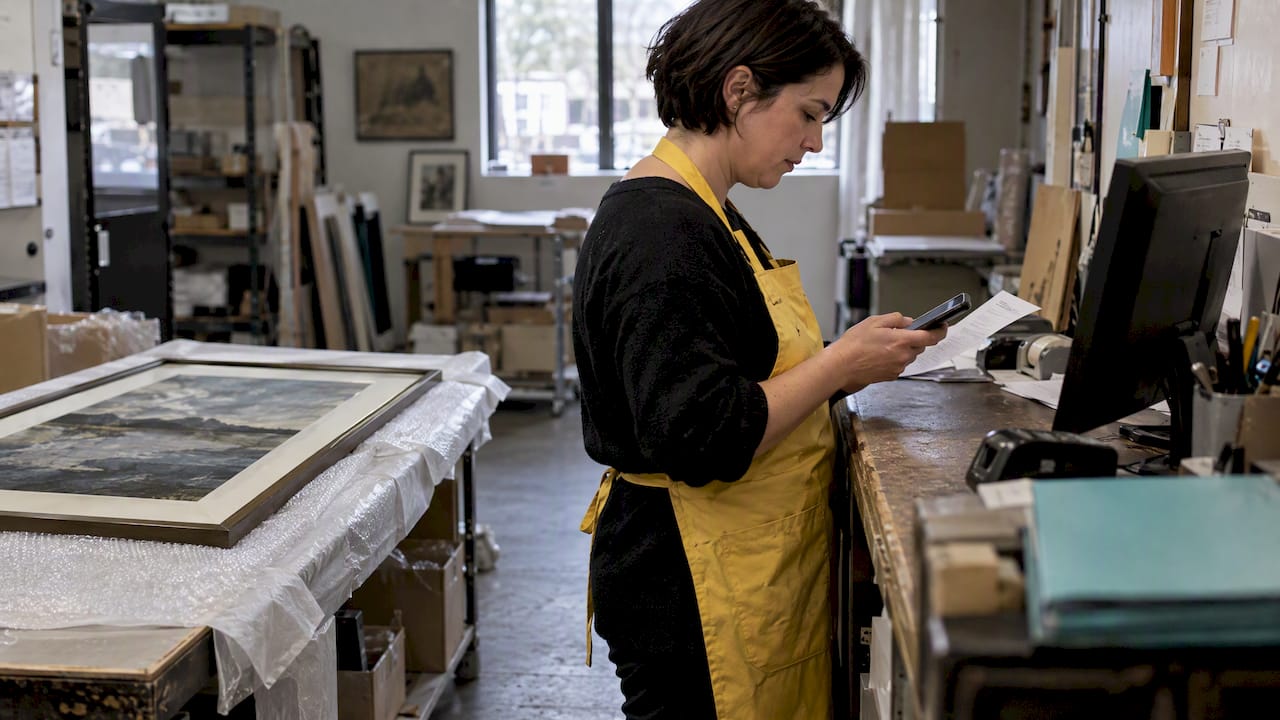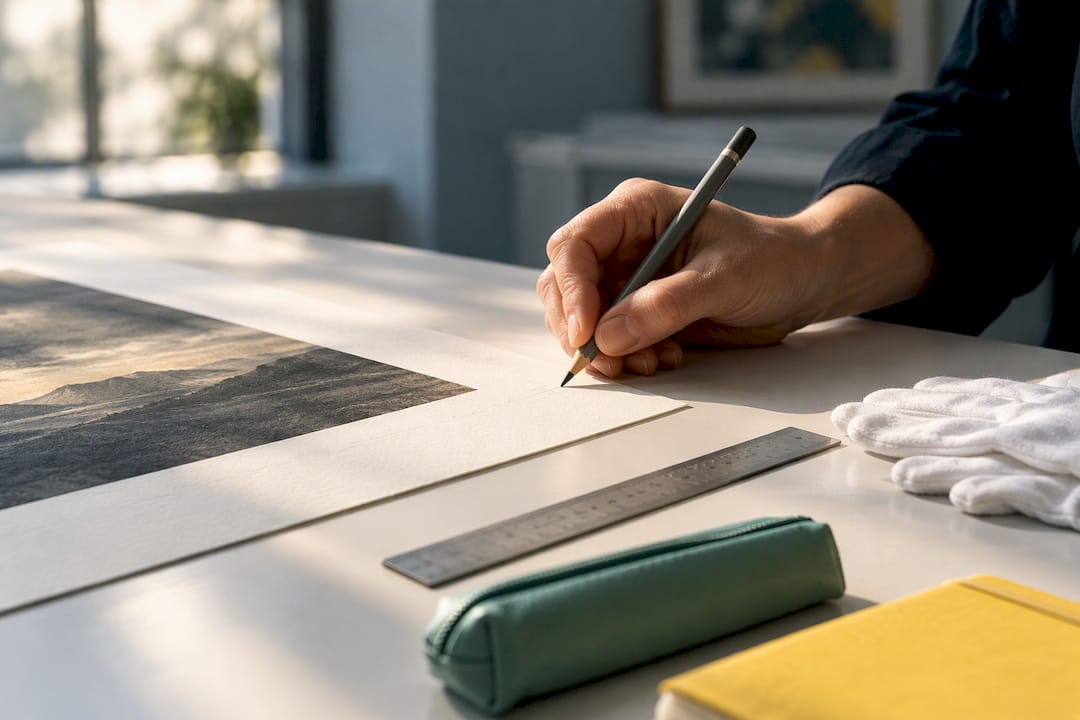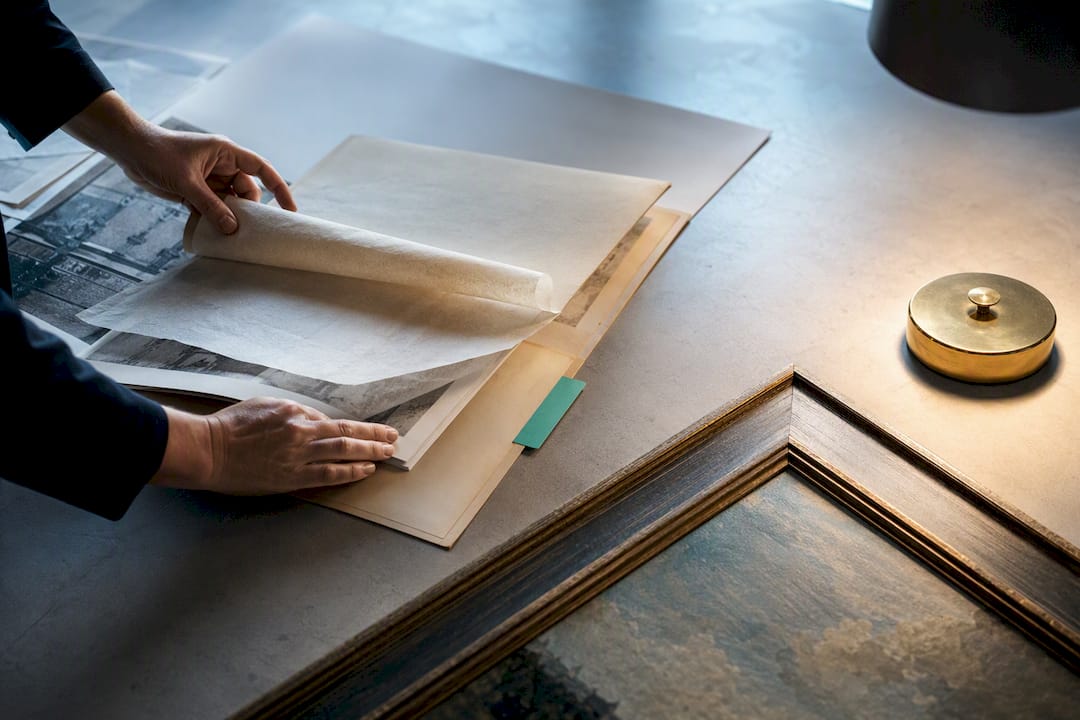


A gallery intake checklist is a standardized list of fields and physical requirements a gallery collects before accepting artwork for exhibition or consignment. At minimum, it must capture artist name and contact information, title, medium, dimensions, price and availability status, and a documented condition at the time of drop-off. The checklist exists for one reason: to make identification, sales clarity, and inventory entry fast and error-free the moment the work arrives.
TL;DR:
- An effective gallery intake checklist captures artist contact details, artwork identification specifics, sales terms, and condition documentation to prevent errors and delays.
- Artwork must arrive in exhibition-ready condition, with proper hanging wire for two-dimensional works and stable bases for sculptures, or it risks immediate rejection.
- Digital image submissions should be in JPEG or PNG format, between 1500 and 3000 pixels on the longest side, under 10MB, with no filters or watermarks, and include detail shots.
- Collecting signed consignment and tax forms at intake ensures accurate sales reporting, reduces disputes, and streamlines payment processes.
- Using a standardized intake workflow, assigning unique IDs, and matching labels to paperwork minimizes errors and supports long-term inventory management.
Table of Contents
- Building Your Gallery Intake Checklist: The Essential Fields
- What Physical Condition Should Artwork Meet at Drop-Off?
- What Are the Digital Image Requirements for Submissions?
- What Consignment Terms and Tax Forms Should You Collect?
- How Should Intake Workflow and Labeling Work?
- What Should a Condition Report Cover at Intake?
- How Do You Get Intake Data Into Inventory Without Errors?
- Which Templates Should You Offer Artists at Submission?
- How Does Software Like Artworksoft Support the Intake Process?
- The Two Mistakes That Keep Repeating at Intake
- Where to Find Sample Intake Forms
- Sources
- FAQ
Building Your Gallery Intake Checklist: The Essential Fields
Every fillable intake form needs four field groups. Miss one, and you end up chasing artists for information weeks later, usually right before a show opens.
Artist and contact fields. Collect the legal name, the name to appear on labels and invoices (sometimes different for artists using a professional alias), email, phone, mailing address, and a website or social handle. That last field matters more than it looks. Galleries increasingly link social presence to press materials, and having it on file at intake saves a scramble before an opening.
Artwork identification fields. This is where most intake forms fall short by asking for too little:
- Title (exact, as the artist wants it printed)
- Year completed
- Medium (specific, not just “mixed media”)
- Dimensions, height by width by depth, in inches or centimeters
- Weight, especially for sculpture or framed works over 30 pounds
- Edition number and total, for prints or multiples
- Provenance notes, even brief ones (prior owner, exhibition history, certificate of authenticity on file)
Sales and logistics fields. These determine what happens to the piece financially and physically:
- For sale or not for sale (NFS) status
- Retail price, and whether that price is negotiable
- Commission percentage the gallery retains
- Tax forms required before payment (more on this below)
- Pickup or delivery schedule and who is responsible for return shipping
- Insurance instructions, including whether the artist or gallery carries coverage during the exhibition
Administrative fields. A signed consignment or consent checkbox, a signature line, the date of intake, and a gallery-assigned ID number that will track the piece through its entire stay. Public sample forms, including the Arts of Carver County gallery intake form, bundle these administrative fields with consignment language so the same document functions as both an intake record and a provisional agreement. That dual function is worth copying. A separate consignment contract that never gets signed is a liability nobody catches until a sale falls through.
Skip any of these four groups and the form works fine for the first ten pieces, then falls apart the moment two artists share a common first name or a price needs correcting after a private sale.
What Physical Condition Should Artwork Meet at Drop-Off?
Galleries reject artwork at intake more often over physical presentation than over the artwork itself. Limited installation time is the reason. A gallery running a one-day hang for a group show cannot stop to re-wire a frame or wait for wet varnish to cure, and most published guidelines make that explicit.
The standards that show up across nearly every gallery’s exhibition guidelines are consistent:
- Two-dimensional works must be wired for hanging, not strung with sawtooth hangers or loose wire that could fail under weight.
- Frames must be clean, free of chips, and structurally sound at every corner.
- All work must be dry to the touch, including varnish, paint edges, and any adhesive used in mounting.
- Works on paper need protective covering, glassine or a mat with glazing, to prevent smudging during handling.
- Sculpture and three-dimensional pieces need a stable base that will not tip during transport or on a pedestal.
Guidance from the Delray Artisans exhibit standards confirms these are treated as non-negotiable at drop-off, and that noncompliant work is commonly turned away on the spot rather than accepted conditionally.
Pro Tip: Add an “exhibition ready” checkbox to your intake form, with a separate signature line for any exception. If your gallery agrees to accept a piece that needs minor repair, the artist should sign off acknowledging the gallery is not responsible for delays that repair causes.
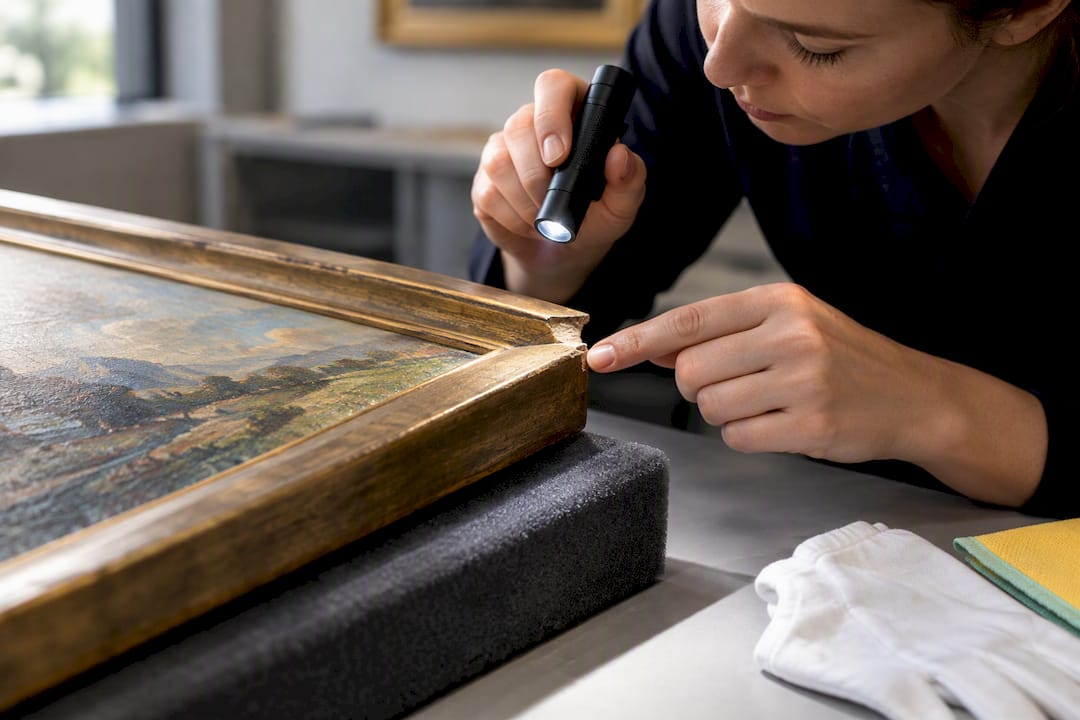
Document every exception in writing at the moment of intake, not from memory later. A quick note (“frame corner chipped, artist notified, accepted as-is”) on the intake form protects both sides and gives your condition report something to reference if a dispute comes up during the run of the show.
What Are the Digital Image Requirements for Submissions?
Poor image quality is one of the fastest ways a submission gets passed over, regardless of how strong the actual work is. Curators reviewing digital submissions rely entirely on what the file shows them, so vague specs produce inconsistent, hard-to-judge files.
Set clear, specific requirements:
- File format: JPEG or PNG only.
- Resolution: 1500 to 3000 pixels on the longest side, which keeps files sharp on screen without becoming unmanageable.
- File size: under 5MB to 10MB depending on your platform’s upload limits.
- No watermarks, filters, or decorative borders. Curators need to see the work, not your logo.
- Include at least one detail shot for texture or surface work, and an installation shot if the piece is site-specific or three-dimensional.
The University of Chicago’s art submission guidance backs this range as standard practice, and it lines up with what independent galleries publish on their own submission pages.
By the numbers: Curatorial guidelines from the Stefani Art Gallery call for 5 to 10 JPG images at roughly 2,000 pixels on the longest side, plus an artist statement and CV, which is a useful default if your gallery hasn’t set its own numbers yet.
A practical middle ground: request web-resolution images for the initial review, then ask selected artists for high-resolution files afterward. This avoids overloading your storage with full-resolution submissions from artists you may never accept. Naming files consistently, artist last name, title abbreviation, view type, makes sorting a stack of 40 submissions dramatically faster. For guidance on capturing images that hold up under this kind of scrutiny, see how to photograph artwork for inventory purposes, since the same shots often serve both submission and later inventory needs.
What Consignment Terms and Tax Forms Should You Collect?
The financial terms on an intake form are what turn a friendly drop-off into an enforceable agreement. Skipping this section is the single most common regret galleries report after a sales dispute.
Capture these fields on every form, not just for new artists:
- A signed checkbox confirming acceptance of consignment terms, with the commission percentage spelled out in the same line (not buried in a separate contract).
- A W-9 or equivalent tax form collected before the first sale, not after. Community galleries commonly build this requirement directly into intake, as shown in the Cherokee Nation Art Center intake form.
- Payment method and terms: check, direct deposit, and the payout schedule after a sale closes.
- Liability language stating who covers damage while the work is in the gallery’s care, and whether that coverage is automatic or requires a separate insurance rider.
- A clear statement of when the gallery can refuse to hang or sell a piece, including for condition issues discovered after acceptance.
Insurance deserves its own line item, not a footnote. If your gallery’s policy only covers work while on display, say so, and require the artist to carry transit coverage separately. A dispute over a damaged shipment is far easier to resolve when the form already answered “who pays” before the damage happened. Recording sale status and price accurately here also feeds directly into sales reporting for galleries, so errors at this stage compound later.
How Should Intake Workflow and Labeling Work?
A consistent sequence at drop-off prevents the two most common intake failures: mismatched labels and pieces that get logged twice under different names.
Follow this order every time:
- Artist or courier arrives with the work and completed (or blank) intake form.
- Staff verifies physical condition against the checklist before accepting anything.
- Staff assigns a canonical ID number if one hasn’t been issued already.
- Staff photographs the piece, including the reverse label, immediately.
- The artist or authorized representative signs the form; staff countersigns.
- Staff issues a signed receipt copy to the artist on the spot.
- Minimal inventory data is entered into the system before the next piece arrives.
Numbering conventions matter more than most galleries realize until they scale past a handful of artists. Two approaches work well: artist initials plus a sequence number (e.g., “JM-014” for the fourteenth piece from an artist with those initials), or a purely gallery-assigned sequential ID that has nothing to do with the artist’s name. The gallery-assigned option is more robust for larger operations, since it never breaks when two artists share initials.
Place labels on the reverse of two-dimensional work and on the base or an inconspicuous surface for sculpture. Every label should carry artist name, title, medium, and price, matching exactly what’s on the intake paperwork. Reconcile the two at the point of intake, not later, by having the same staff member who writes the label also check it against the form before the artist leaves.
Pro Tip: Assign one person to intake during busy drop-off windows and nothing else. Galleries that split intake duties across multiple staff members see far more mismatched labels than those that keep one person accountable for the whole sequence, start to finish.
What Should a Condition Report Cover at Intake?
A condition report at intake is your baseline. Without one, you have no way to prove whether damage happened before the piece arrived, during the show, or in transit afterward.
Inspect and document these points on every incoming piece:
- Surface condition: scratches, paint loss, discoloration, or fading
- Frame condition: chips, loose joints, or damaged glazing
- Backing and mounting: torn paper, loose hardware, unstable attachments
- Evidence of previous repairs, even ones the artist doesn’t mention
Photograph four standard views: front, at least one detail shot of any existing damage, the reverse, and the label itself. Name and file these consistently, using the canonical ID as the file prefix, so anyone pulling the record later finds all four images in one place without searching.
When you discover damage during intake, you have three options: refuse the piece outright, accept it conditionally with a signed notation describing the exact damage, or place it on temporary hold pending the artist’s decision. Whichever you choose, write it down at that moment. A verbal agreement about “a small scratch, no big deal” is worthless if a dispute comes up three months later.
How Do You Get Intake Data Into Inventory Without Errors?
The gap between a completed intake form and a clean inventory record is where most data errors happen, usually because someone re-types information from paper into a spreadsheet days later and gets a dimension or a price wrong.
Capture this minimal metadata the same day the piece arrives:
- Canonical ID number
- Current location within the gallery or storage
- Status (on view, in storage, sold, on hold, returned)
- Provenance notes carried over from the intake form
- A link to the condition report and photos taken at intake
Before you consider a piece “in the system,” run a three-way check: does the label match the paperwork, and does the paperwork match what’s entered digitally? Catching a mismatch here takes thirty seconds. Catching it during an audit six months later takes an afternoon and an uncomfortable conversation with an artist.
The canonical ID is what prevents orphaned records, entries that exist in one system but not another after a migration or a switch from spreadsheets to dedicated software. Assign it once, at intake, and never change it. Details on structuring these fields for long-term use are covered in this guide to building an artist inventory system that actually holds up as your gallery grows.
Which Templates Should You Offer Artists at Submission?
Give artists a small, consistent set of files rather than a wall of instructions buried in an email. Four documents cover nearly every intake scenario:
- A fillable intake PDF with all four field groups described above
- A one-page condition report template staff can complete in under five minutes
- A sample label sticker showing exact wording and placement
- A digital submission checklist, ideally with a CSV field list for galleries tracking large open calls
| Template | Best used for |
|---|---|
| Fillable intake PDF | In-person drop-off and consignment |
| Condition report | Every piece, at intake and at return |
| Sample label sticker | Physical labeling before hanging |
| Digital submission checklist | Online or emailed open calls |
A sample label reads simply: “Jane Martinez, Coastal Study No. 4, oil on canvas, $850.” Keep it that short. Anything longer gets cut off on small sticker stock. Host the current version of each template on your submissions page and retire outdated versions immediately. Nothing causes more confusion at intake than an artist showing up with a form from two years ago that’s missing a field you now require.
How Does Software Like Artworksoft Support the Intake Process?
Paper checklists work until a gallery hits a few hundred pieces, then the search for one label match, one signed form, or one condition photo starts eating real staff time. That’s the point where mapping intake fields directly into a management system pays off.
Fields from your intake form translate cleanly into a digital artwork profile: title, medium, dimensions, price, and status map one-to-one, and the canonical ID assigned at drop-off becomes the record’s permanent identifier rather than a note on a paper form that can get lost. The software structure supports this kind of direct mapping, storing the signed consignment document and the condition photos against that same ID so nothing sits in a filing cabinet disconnected from the digital record.
That matters most during an audit or an ownership dispute, when the fastest way to resolve a question is pulling one record that already contains the signed form, the photos, and the sales history together.
A few practical signals suggest it’s time to move from paper-first to software-first intake:
- You’re managing consignment work from more than a handful of active artists at once
- You’ve had at least one orphaned record, a piece with no clear paper trail, in the past year
- Staff spend more than a few minutes per piece reconciling labels against paperwork
Galleries scaling past occasional shows toward ongoing representation often start with the Free Plan to test whether digital intake fits their workflow before committing further.
The Two Mistakes That Keep Repeating at Intake
Label mismatches are the most common intake failure, and they usually trace back to one cause: the person writing the label wasn’t the person filling out the paperwork. One coordinator I spoke with described a show where three pieces got hung under the wrong price because a volunteer wrote labels from memory instead of copying directly off the signed intake form. The fix wasn’t complicated. They started requiring the same staff member to complete both the label and the form line-by-line, in the same sitting.
The second recurring failure is the missing tax form. Galleries that only ask for a W-9 after a sale closes tend to lose weeks chasing artists who’ve already moved on to the next show. Building tax form collection into intake itself, before the piece ever goes on the wall, closes that gap completely.
Most intake problems are not complicated to fix. They’re the result of skipping a field under time pressure, then paying for it later with a spreadsheet correction or an awkward call to an artist. A checklist only works if it gets used the same way every single time, by whoever happens to be at the front desk that day.
— Nealda
Where to Find Sample Intake Forms
A few publicly available forms are worth reviewing before you build your own. The University of Washington’s image gallery intake form is a solid operational template, while the Arts of Carver County fillable PDF shows how consignment language integrates into the same document. Adapt whichever matches your gallery’s size and sales structure most closely.
Sources
- Delray Artisans – Exhibit guidelines
- University of Chicago — Art submission guidance (ArtDigest resource)
- Arts of Carver County — Gallery intake form (fillable PDF)
- Stefani Art Gallery — Submissions
FAQ
What Is an Intake Checklist?
An intake checklist is a standardized list of information and physical requirements a gallery collects before accepting artwork, covering artist details, artwork identification, sales terms, and condition. It exists so staff process every submission the same way regardless of who’s at the front desk.
What Are Common Mistakes on Intake Forms?
The most frequent errors are label mismatches, where the physical label doesn’t match the signed paperwork, and missing tax forms collected only after a sale closes instead of at drop-off. Both are prevented by having one staff member handle labeling and paperwork together and by requiring tax forms as part of intake itself.
Where Can I Find a Free Template for a Client Intake Form?
Several galleries and universities publish free fillable PDFs, including the University of Washington’s intake form and the Arts of Carver County intake form. Pick one close to your gallery’s size and adapt the field list rather than starting from a blank page.
What Is a Condition Report Used For?
A condition report documents a piece’s physical state at the exact moment of intake, covering surface, frame, backing, and any prior repairs. It protects both the gallery and the artist by establishing a baseline before the work goes on display, so any later damage dispute has a clear reference point.
Does an Intake Checklist Replace a Consignment Contract?
A well-built intake form can function as a provisional consignment agreement when it includes a signed commission clause and consent checkbox, as seen in forms like the Arts of Carver County template. Larger sales or long-term representation still warrant a separate, more detailed contract.